RC Float Plane Basics
Converting your favorite model to an RC float plane can be a lot of fun. It can also lead to a lot of frustration and wasted money if you “dive” in without doing your homework.
|
While transforming your plane for use at your favorite water hole is not difficult, there are a few guidelines to follow that will greatly increase your chance of success. In other words, it’s not quite as easy as replacing the wheels with a set of floats and heading to the lake… |
 |
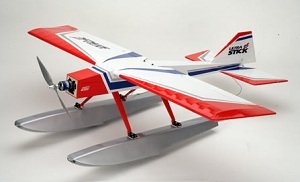
What makes a Good Float Plane?
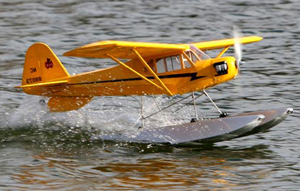
RC airplane floats don’t have the friction of the wheels to keep the airplane from rotating or moving sideways. A short and stubby airplane will basically spin around wherever it wants…
The tail moment of a longer plane's vertical fin will keep the plane turned towards the wind in the same way a weather vane points toward the wind. When flying from the ground you have to look at the wind sock to determine which way to take off. A good RC float plane IS a wind sock!
Besides having a long tail moment, it’s smart to start with a plane that can fly stable and low speeds until you get used to taking off and landing on the water.
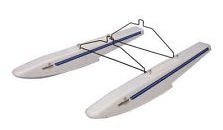
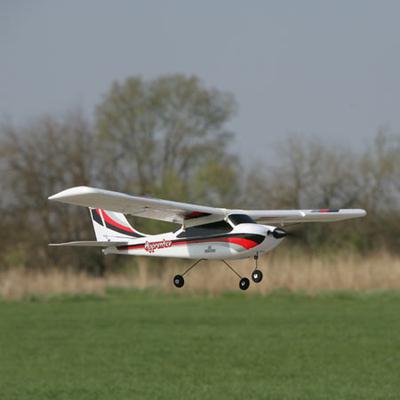
If you're looking for the quickest and easiest route, E-Flight offers a set of floats that will fit their 25 size high winged park flyers which make perfect RC float planes once you master the basics of flight. These floats are made specifically for these planes and are a breeze to install even if you are completely new to water flight.
 |
 |
 |
 |
Size is important too, the bigger and heavier your plane is the better it will handle wind and ripples on the water. This is definitely something to keep in mind if you plane to fly from a large lake where waves may be an issue…
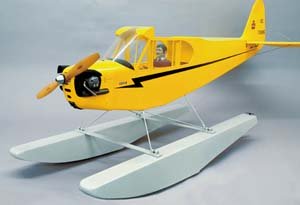
You're trusty old high wing trainer makes a perfect RC float plane. Adding floats to larger planes is not quite as straight forward as slapping a set of E-Flite floats on an E-flite plane.
But no worries, we're about to get into the details of choosing and installing your own floats.
What Floats to Use?
Have you decided on a plane? Good, the next step is finding the perfect set of floats for it...
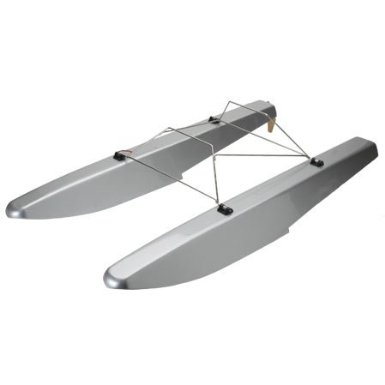
Before we talk about the size of the floats, you need to determine what type of float you want to use. You can buy ABS plastic floats, build a set of balsa wood floats, or maybe you'll decide on foam core floats.
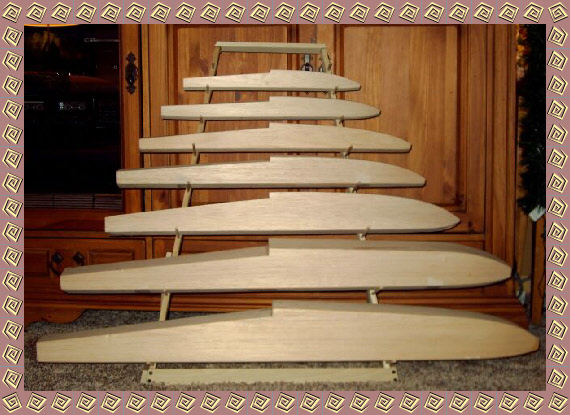
This choice is yours. This article on RC airplane floats brakes down the pros and cons of each type.
What Size Floats?
Some floats specify that they're good for a certain about of weight. Others, like these
Hangar 9 40-Size Wood Floats are made for planes with a specific engine size.
|
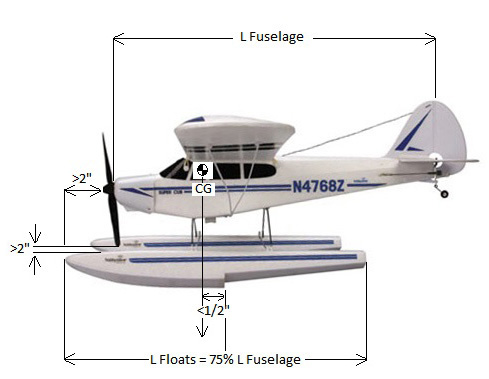
While these specs are useful, one of the most important things to consider is the length of the floats. The length of your floats should be pretty close to 70% to 80% the length of the fuselage measuring from the back of the propeller to the elevator hinge. |
 |
More than likely you'll be able to find a set of commercial floats that will come pretty close to this critical dimension. It doesn't have to be exact, but it does need to be pretty close.
If you can't find a set with the length you need, no worries. Just make your own set of foam core floats.
Critical Aspects of Installation
Installing the floats... Ah, this is where most of the problems occur if you don't know what you're doing...
There are several things at play that must be "fine tuned" for your RC float plane to have the correct angle of attack for creating lift once the plane is up on the step skimming across the water...
Center of Gravity
The first thing you need to do is locate the center of gravity of your airplane. It's best to make sure the CG is set the the original specifications set forth in the manual.
Tip
Make sure the plane is balanced before you install the floats. After the floats are installed, balance the plane again by adding weight to the floats, not the airplane. This way the plane will still be balanced should you decide to remove the floats.
Position of the Step
The "step" of the float needs to be located at or just behind the center of gravity of the airplane. As a general rule 1/2" to 1" should be about right for most average sized RC float planes.
The front of the floats should stick out a couple inches past the propeller in order to keep the plane from nosing down into the water.
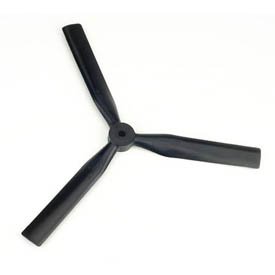
The last thing you want is for the propeller to cut the front of your floats off! So be generous and give yourself a comfortable couple inches of clearance between the propeller and float. It may be a good idea or even necessary to install a 3 bladed propeller to give you the added clearance and torque as explained here.
Float Spacing
You will want to space the floats apart by at least 25% of the wing span, which is a bit further apart than most wheels on traditional landing gear. Mounting the floats any closer together may result in a spectacular splash and your plane rolls over in the water!
Mounting Angle
No matter how much power you have, your RC float plane will stubbornly refuse to lift off the water if the attitude of the plane is too low once the plane is riding up on the step of the floats. In this situation, your RC float plane is nothing more than a speed boat with wings!
If the nose is angled upward too much the plane will want to lift off to early and may stall.
Mounting your floats to the airplane at the correct angle is absolutely critical. Doing so incorrectly is the source of most RC float plane problems....
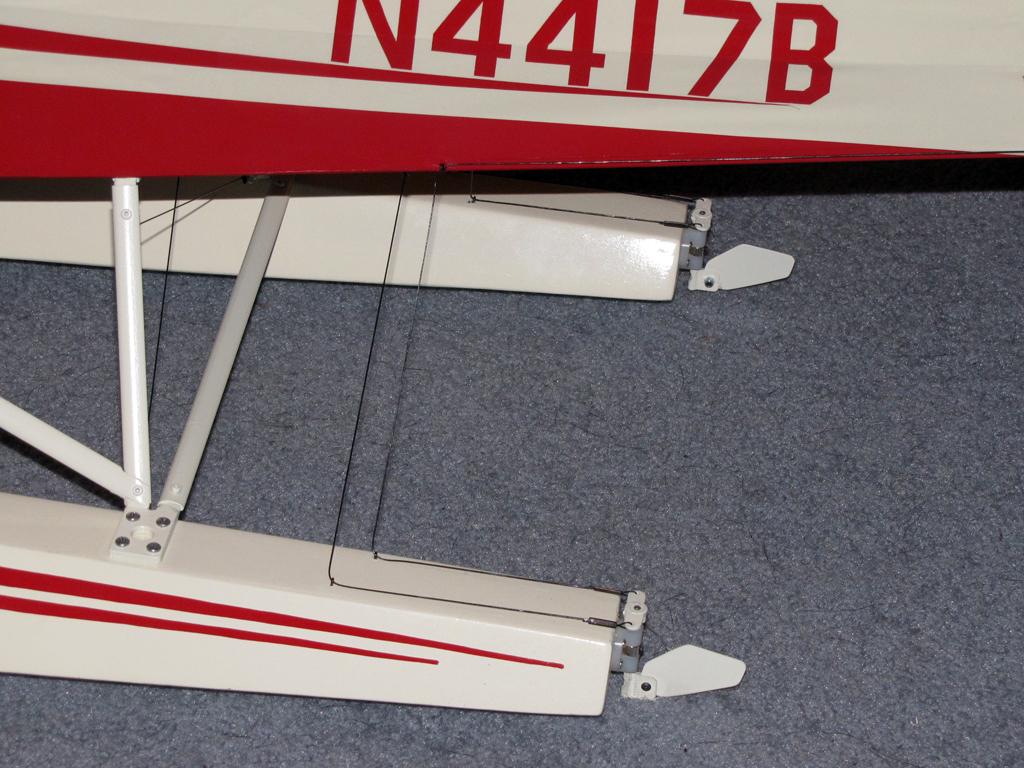
You want to get the floats parallel to the attitude of the airplane. First mount the front of the floats to obtain the proper propeller clearance. Then adjust the back of the floats until you get the top of the floats parallel with the horizontal stabilizer of the airplane.
This should put you pretty darn close to where you need to be. The wing incident relative to the top of the floats should be a couple of degrees positive. If not, you need to slightly increase the height of the front mount until you achieve a 2-3 degree positive wing incident.
Power Requirements
You're going to need a bit more power to fly your airplane with a set of floats. Why?
For starters floats weigh a bit more and create a bit more drag while flying than conventional landing gear. But that's almost negligible compared to the significant amount of friction created by the floats dragging through the water on take off.
 |
You may be able to kill two birds with one stone by changing from a 2 blade to a 3 blade propeller. This will give you more torque by sacrificing some top end speed. The article sizing model airplane propellers explains explains why. The second bird? A three blade prop is shorter, so you can mount the floats closer to the airplane. |
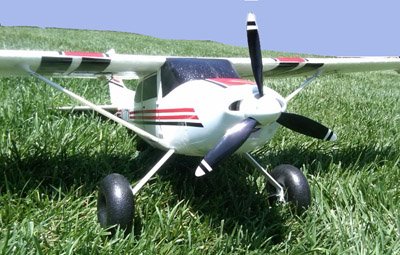
So how do you know if you're plane has enough power to lift off from the water? An old rule of thumb is if your plane can take off in grass a couple of inches tall at three quarters throttle, she can handle a set of floats.
Is Flying a Float Plane Hard?
If you can take off and land a tail-dragger confidently, you can fly from the water. But there are a few things to consider before picking up your first RC float plane.

While I hate to sound like "Captain Obvious", here are a couple of common sense guidelines that many folks overlook.
Don't laugh! You'd be surprised...
- Make sure you are able to take off, fly, and land your airplane on LAND before attempting to fly off water.
- Do you have a way to retrieve your plane should it get stranded on the water? Unless you just like to swim, make sure you have a boat!
Taxiing on the water is probably the hardest thing to get used to. On a calm day, there's nothing to it! Add a little wind and you just might be pulling your hair out watching your plane chase it's tail around the water going everywhere except for where you intend for it to go.
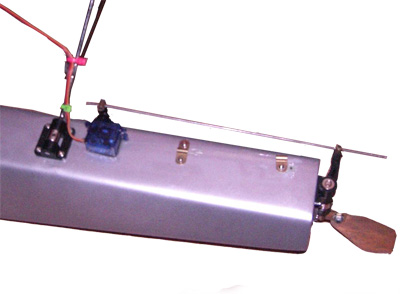
A good water rudder set up is worth it's weight in gold on a breezy day. But even with a water rudder, you'll find taxiing in the wind is a challenge to say the least. It takes some practice learning to work with the wind, not against it...
When turning down wind it's important to use the ailerons to keep the wing from rising up and getting caught by the wind, otherwise your plane has a good chance of flipping over. Especially if it's a high wing trainer.
|
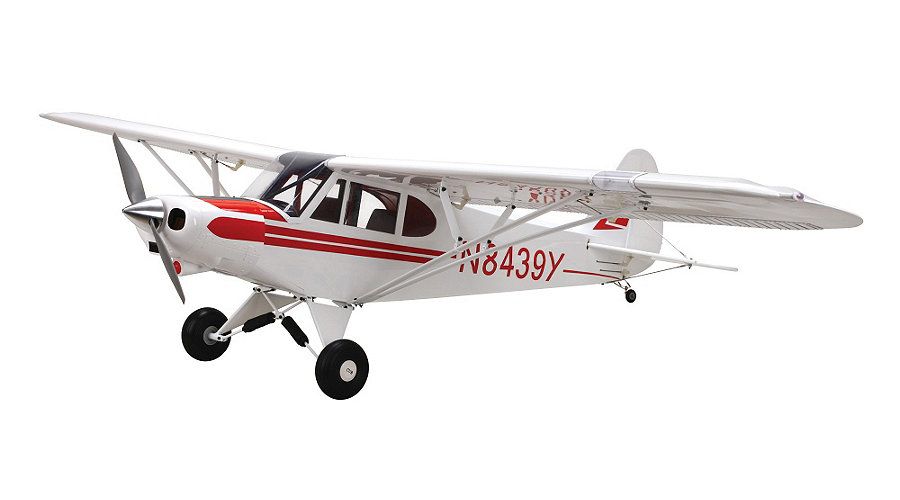
Video Tutorial The Hobby Zone Super Cub with these floats are used in this tutorial. |
As mentioned earlier, your plane will automatically weathervane into the wind for the take-off run. Hold full elevator as you slowly increase the throttle until the float is riding up on the step. |
At this point it's time to relax the elevator as you apply full throttle.
Just like taking off from land, gently add elevator until she lifts up off the water for the climb out.
Once airborne the different vertical weight distribution along with the aerodynamic effects from the floats may cause her to be just a bit less agile, every plane is different. For the most part you'll find that your airplane behaves just about the same with floats as it does with wheels.
Landing a float plane is the same as landing any other airplane. You might want to come in a little hot the first couple of times as the floats may cause her to slow down a bit quicker than you're used. Just sit her down nice and easy on the floats just like the mains of a tail dragger.
Related Articles
I hope this article answered some questions you may have had about RC float planes. If so, I think you might find the articles below helpful as well. Good luck with your water adventures!

Home > Amphibious RC Airplanes > RC Float Planes
Let’s Go Flying! |
|
5 Steps for Successful First Flight! When the RC bug bites, it bites hard! Control yourself my friend! Save yourself much time and money by following these five steps to success! |


|
Follow us on: |
|
|